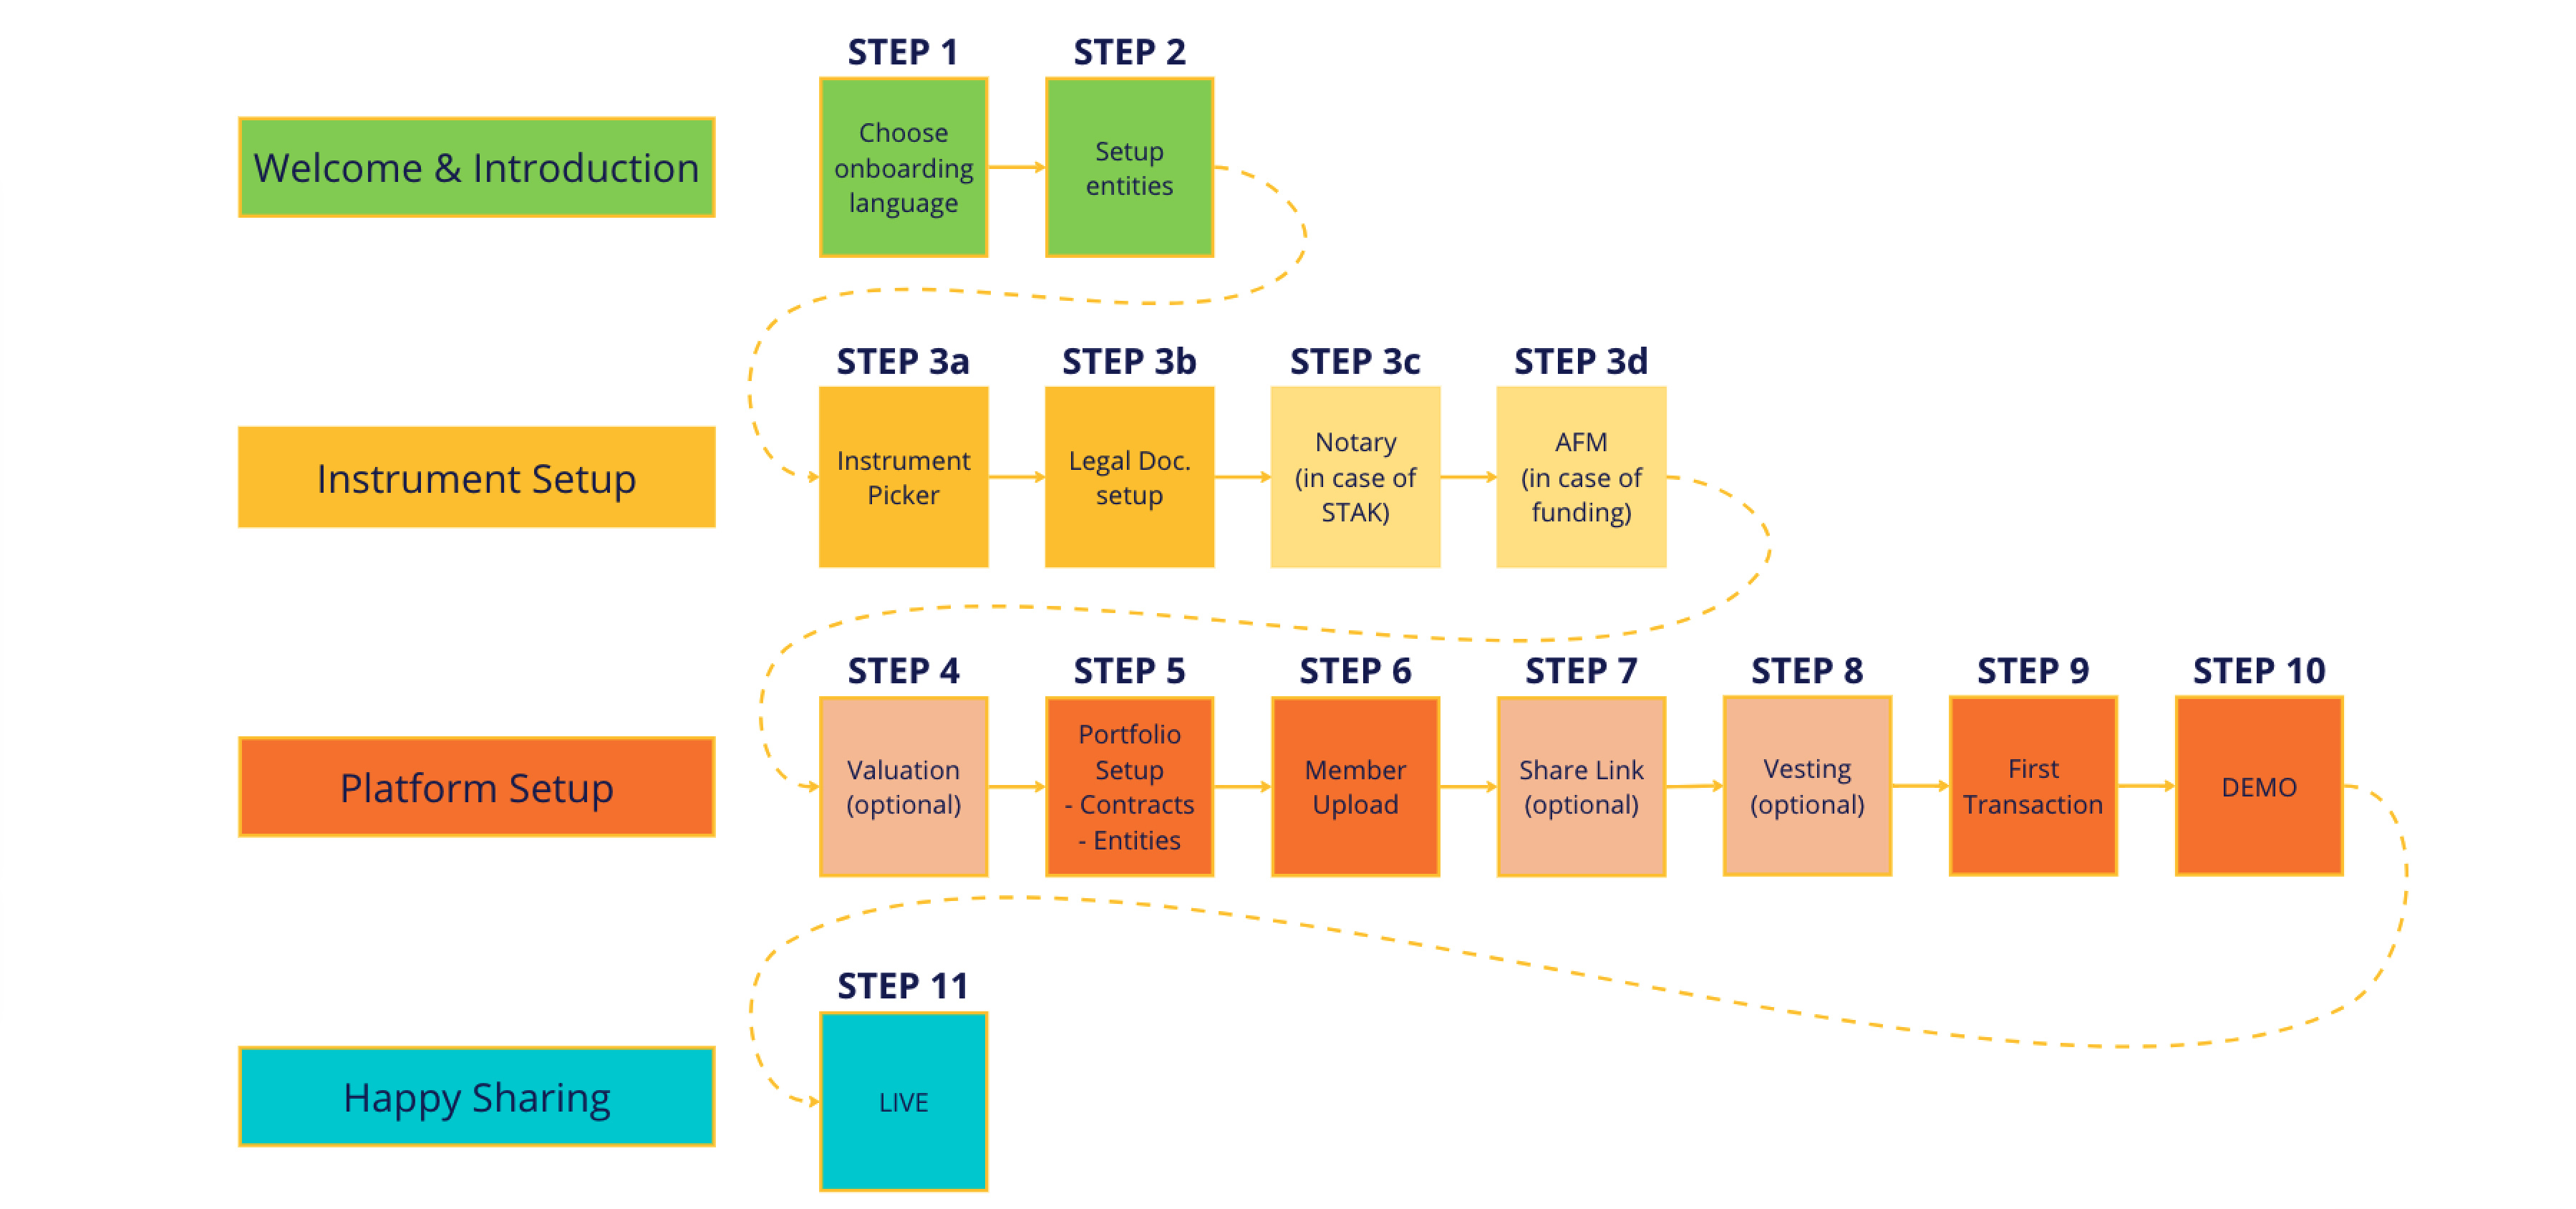
Onboarding process overview
Easily follow our streamlined process to set up, manage, and share equity with your team. Each step is designed to guide you from start to finish, hassle-free.

A straightfoward process
This onboarding process is designed to guide you through a structured and efficient setup, covering all key legal, financial, and operational steps. Our team will be with you every step of the way to ensure a smooth completion of the entire onboarding process.

“I’ll be your point of contact throughout onboarding, ensuring you have a smooth, simple experience while setting up with ShareCouncil”
.png?width=774&height=774&name=blue%20board%20(1).png)
Kelem Schonenberg
Customer Success Manager
Ready to explore what works for your company?
Step-by-step process
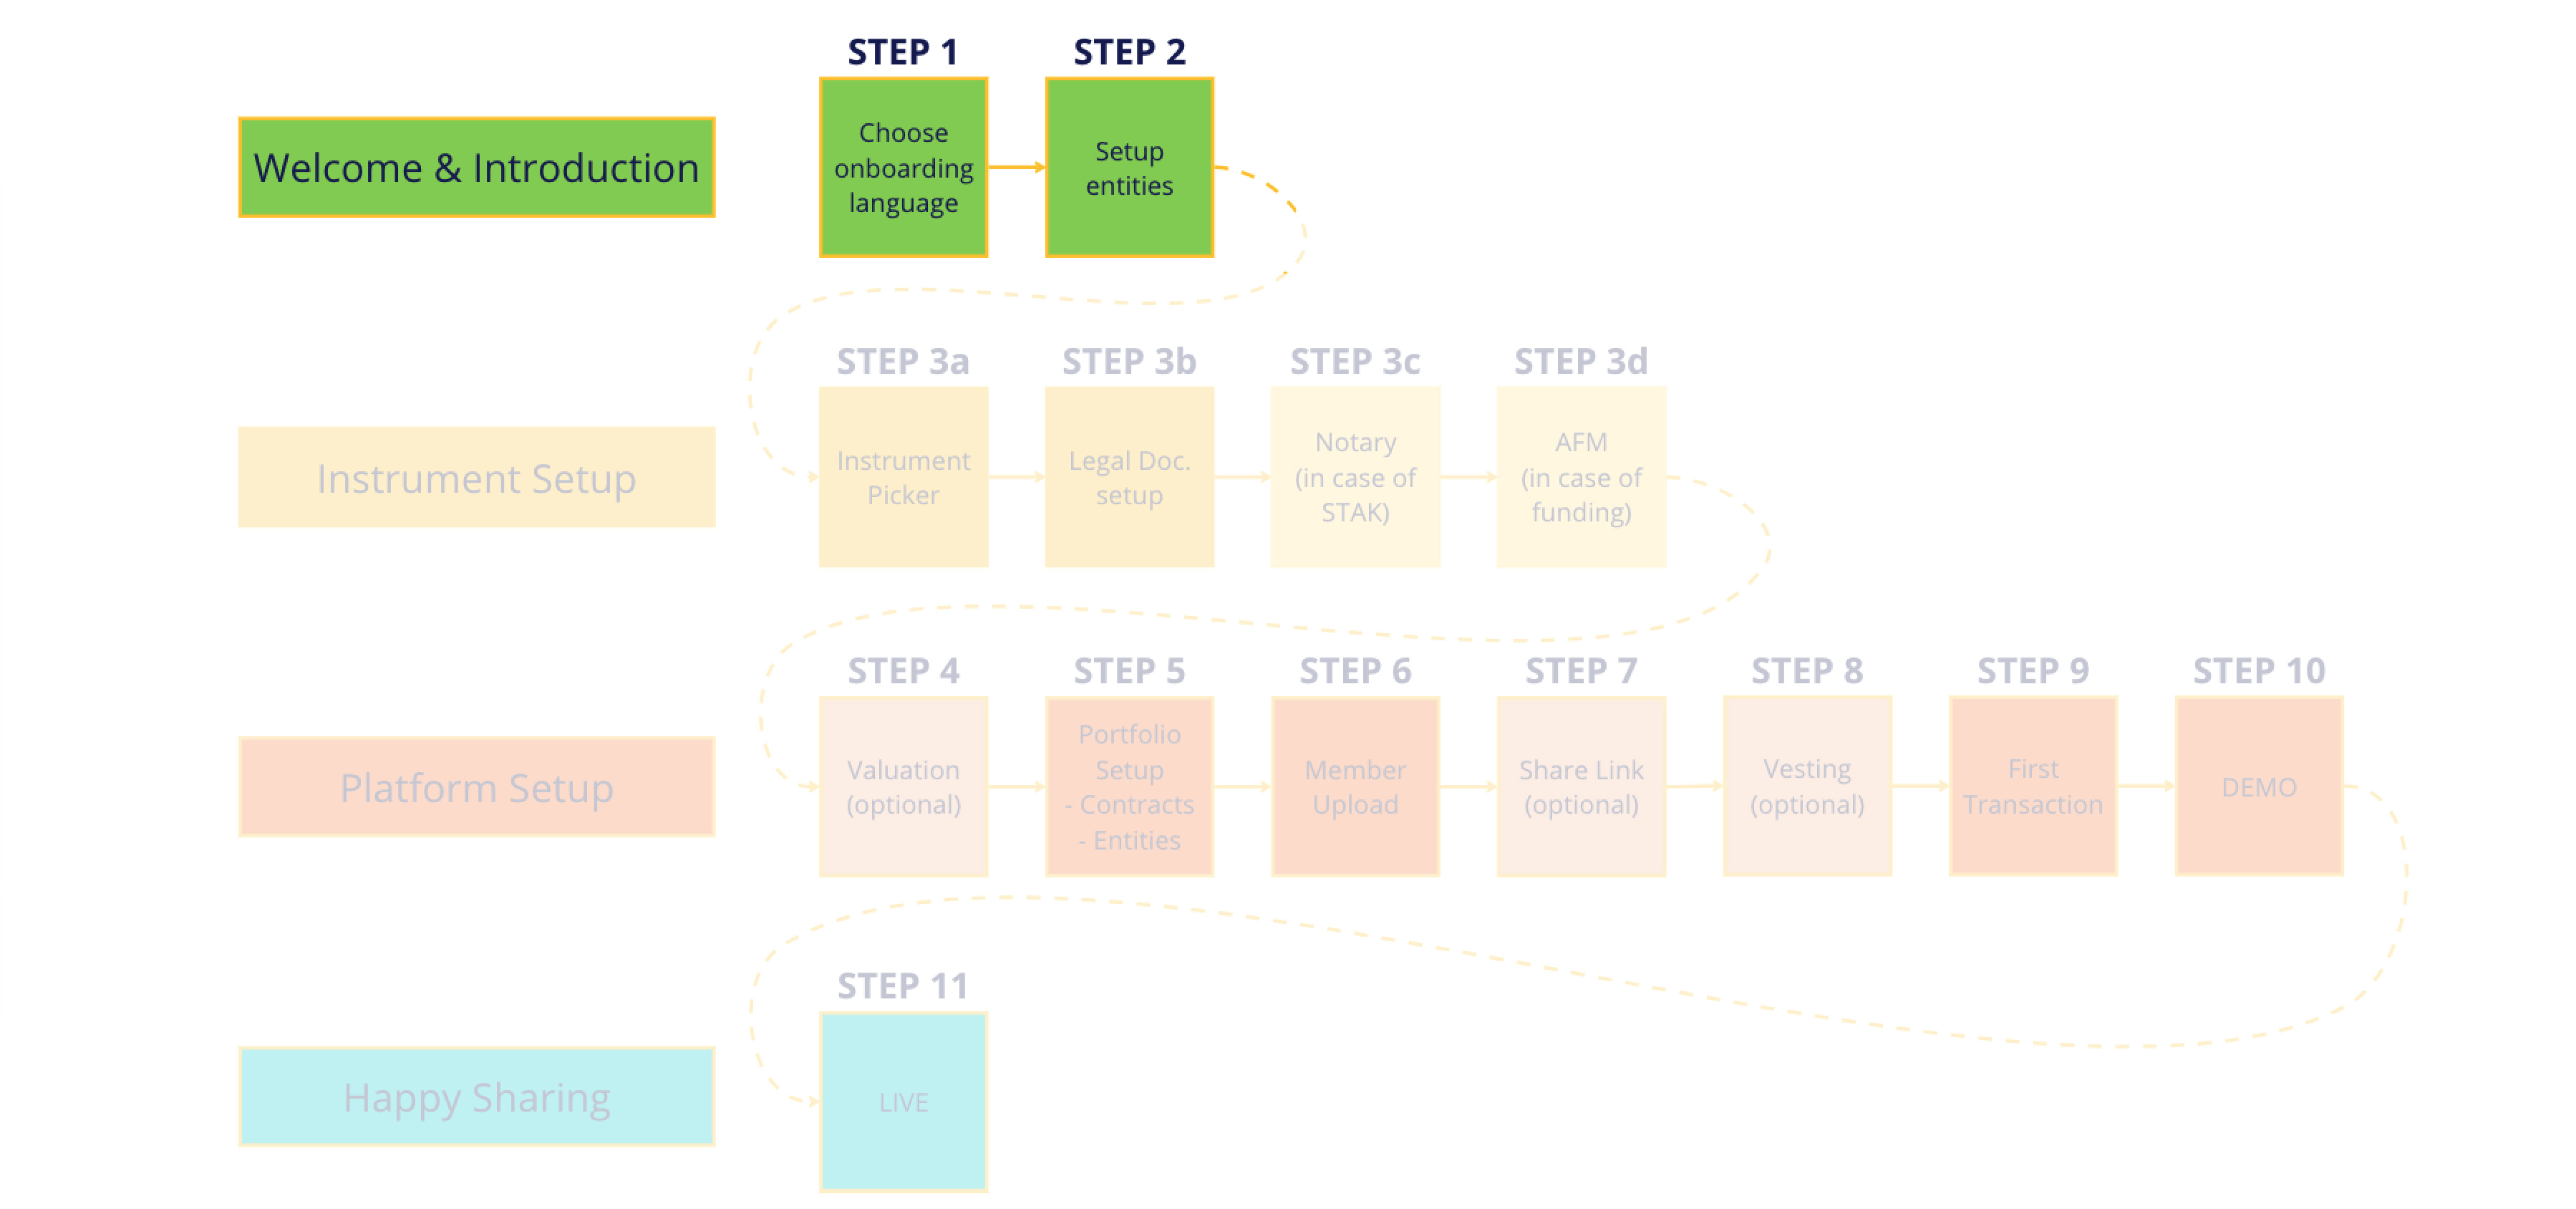
1. Welcome & Introduction (Steps 1-2)

Step 1: Choose Onboarding Language
The onboarding process begins by selecting the preferred language for communication and platform setup. This ensures clarity and convenience for users.
Step 2: Setup Entities
After selecting the language, the next step is to define the entities that will be involved. This includes defining key stakeholders such as companies or individuals participating in the platform.
2. Instrument Setup (Steps 3a-3d)
.jpg?width=3598&height=1688&name=Group%202357%20(1).jpg)
Step 3a: Instrument Picker
Users select the type of financial instrument they want to implement, such as shares, options, or other equity instruments.
Step 3b: Legal Document Setup
The platform assists in setting up the necessary legal documents to formalize the issuance of these instruments, ensuring compliance with relevant regulations.
Step 3c: Notary (in case of STAK)
If setting up a STAK (Stichting Administratiekantoor), a notary must be involved to complete the legal formalities.
Step 3d: AFM (in case of funding)
For funding activities, users may require approval from the Dutch Authority for the Financial Markets (AFM), which governs financial compliance.
3. Platform Setup (Steps 4-10)
.jpg?width=3598&height=1688&name=Group%202357%20(2).jpg)
Step 4: Valuation
Users may choose to conduct a company or asset valuation, which is optional but could be necessary for defining the value of the instruments issued.
Step 5: Portfolio Setup - Contracts & Entities
This step focuses on setting up the company’s portfolio, including drafting contracts and linking the relevant entities.
Step 6: Member Upload
Here, the relevant members, such as shareholders or participants, are uploaded into the platform for tracking and management.
Step 7: Share Link (Optional)
An optional feature where a link can be shared with members to give them access to their portfolios or relevant information.
Step 8: Vesting (Optional)
The platform can handle vesting schedules if needed. Vesting refers to the process by which beneficiaries earn rights to the equity over time.
Step 9: First Transaction
The first transaction involving the selected financial instrument is executed, marking the beginning of formal operations on the platform.
Step 10: Demo
A demonstration or walk-through is provided, ensuring users understand how to navigate and use the platform.
4. Happy Sharing (Step 11)
.jpg?width=3598&height=1688&name=Group%202357%20(3).jpg)
Step 11: Live
After completing the setup, the platform goes live. The company and its stakeholders can now actively use it for their equity management needs.
Built for
modern teams
If you want to go fast, far and long - go together.
We make ownership, responsibility and belonging a breeze. Teams with ownership organise and optimise themselves. We call it Community-Led Growth.
Recruit top talent, increase retention and boost employee engagement; Share Council lets you put your shares to work.
.png?width=1677&height=2334&name=Group%202193%20(3).png)